Triggered Burst Mode
In Triggered Burst mode, the module starts waveform generation when it is armed and receives the trigger signal, as in Triggered Free Run mode. However, instead of repeating continuously, the waveform starts, repeats, and stops after a finite number of repetitions. The number of the repetitions can be specified by the property Loop Count via the GUI or API-based applications. The Loop Count property can be set from 1 to 255. Similar to the Triggered Free Run Mode, trigger signals received before the waveform stops or before the module is armed will be ignored. Once the waveform stops, the module will arm itself automatically and await the next trigger signal.
The following figure shows waveform generation for different Loop Counts: 1, 2, and 3.
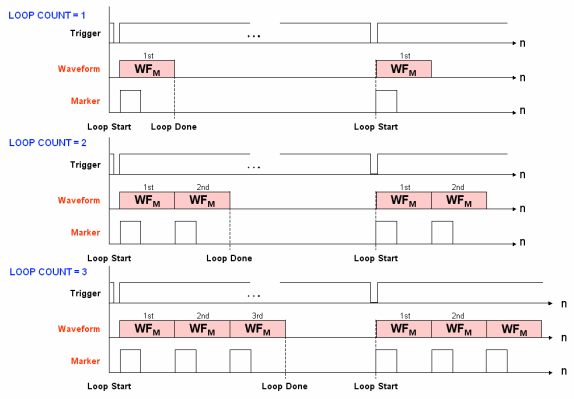
Until Loop Done is reached at the end of completing the number of loops in Loop Count, the module repeats the waveform continuously. There is no latency between consecutive waveforms within a burst. The following waveform starts right after the end of the preceding waveform. After the module receives the next trigger signal, it repeats this process. The waveform generation can be aborted by an Abort command from the GUI or API-based applications.
» With the program open, click on the Waveform tab if you are not already in the Waveform Panel.
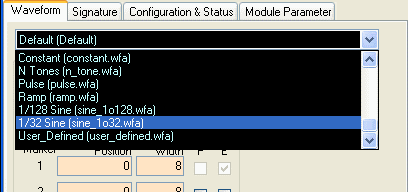
» Click on the drop-down list and select one of the saved waveforms, such as "1/32 Sine (sine_1o32.wfa)", which is a Sine wave at 1/32th of the clock frequency. The files have the extension .wfa and are stored in your application folder or the user-defined waveform directory. You can adjust various parameters if desired.
Click on Download Waveform near the bottom of the window or click on File --> Load Waveform. Wait several seconds for the file to finish downloading.

» Click on the Configuration and Status tab. In the Configuration section, check the box for Master, and disable the checkbox for Endless Loop. Enter a positive value for Loop Count.

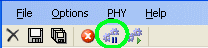
Then press the Arm&Ready button in the toolbar, which is the 5th button from the left in the area between the menu bar and the panel tabs.
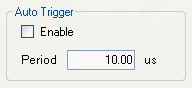
Finally, apply a trigger signal, either via the TRIG SMA on the module or by enabling the Auto Trigger in the Configuration section of the Configuration & Status Tab.